This post may contain affiliate links. Please read my disclosure for more info.
Time to Complete - 15 minutes (per side)
Difficulty - 2/5
Tools and Parts Required
- Ratchet
- 8mm socket
- Phillips head screw driver
- Replacement light's (where necessary, e.g.)
- Trophy aka Black Magics
- ABC Design AutoArt
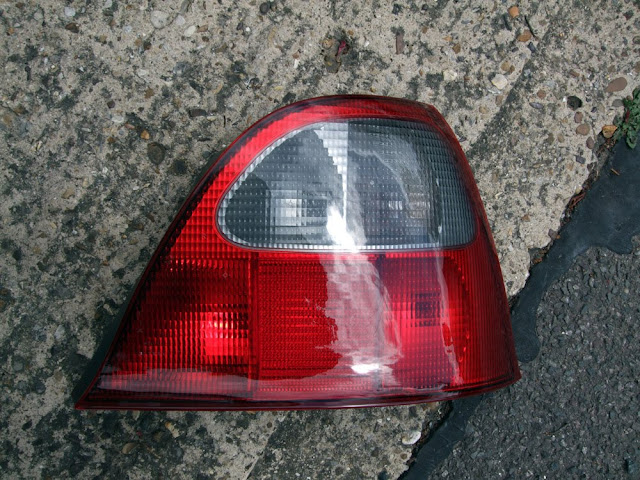
- MG ZR clear lens type
- Rover 25 smoked lens type
Disclaimer: Any information given in this guide is to be used at the readers own risk. I take no responsibility for injuries to the reader or damage to their vehicles. If this guide is followed correctly, no harm should occur to either the reader or the car.
Please read through the entirety of this guide prior to undertaking any work, and take due care.
How to Remove and Refit Rover 25 / MG ZR Rear Lights
Step 1
Open the boot and pick a side to start with, or the side that requires attention. Focus your attention on the carpet behind the light in question, it should look like this;
Step 2
Locate and remove the screw at the top of the carpet using the Phillips head screw driver.There is also a peg that must be removed from a plug. This simply pulls out, dig your nails in underneath it and pull, it may require a small flat head screw driver to prise it off if it's particularly stubborn.


Step 3
Pull back the carpet to reveal the back of the light.
Step 4
Locate the three nuts holding the light on. They should be arranged like so; one middle nearest the boot entrance, one at the top outer corner, and one at the bottom in the middle.Remove the nuts using the ratchet and 8mm socket.


Step 5
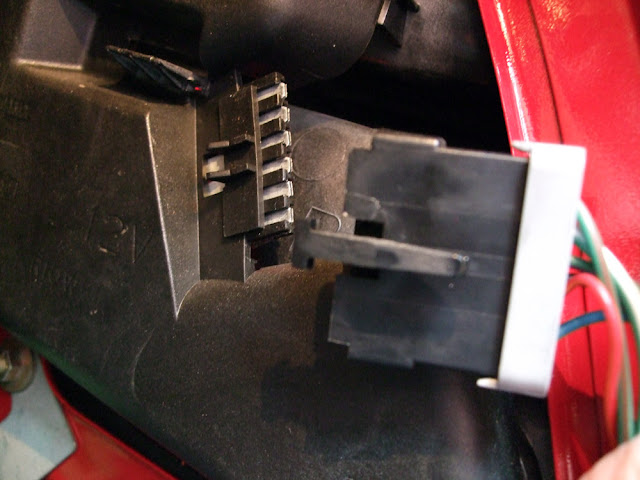
Once all the nuts are removed you will need to un-clip the wiring harness from the lights. To do this just lift the tab and pull the harness away from the light.Once apart it should look like this;


Step 6
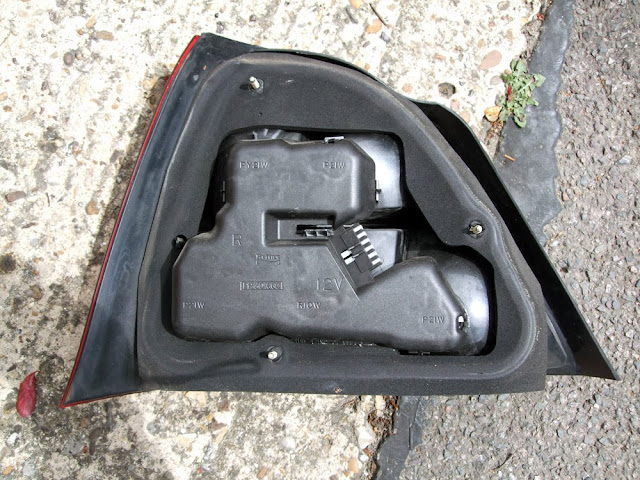
The lights should now come away from the car body. Be careful to remove the rubber seal with the lights, if it has never been removed before it can get stuck to the body.Once removed the body and light unit will look as follows.


4 Comments
really useful, thanks very much!
ReplyDeleteYes, thanks for posting this. Very useful! Good pictures too!
ReplyDeleteGreat guide thanks.
ReplyDeleteGlad it helped, thanks for leaving a comment!
DeletePost a Comment
Let me know what you think by leaving a comment below.