Ideal when upgrading to a perforated leather steering wheel.

This post may contain affiliate links. Please read my disclosure for more info.
Time to Complete - 25 minutes
Difficulty - 3/5
Tools and Parts Required
- Torx T30 bit
- Ratchet
- Torque Wrench
Disclaimer: Any information given in this guide is to be used at the readers own risk. I take no responsibility for injuries to the reader or damage to their vehicles. If this guide is followed correctly, no harm should occur to either the reader or the car. If followed incorrectly it could cause injury or damage to the car.
Please read through the entirety of this guide prior to undertaking any work, and do take care when following this guide.
Before working with any part of the Supplementary Restraint System (SRS) you MUST remove the key from the ignition and disconnect the battery.
After disconnecting the battery, leave the car for at least 10 minutes to allow the circuits to fully discharge. This will prevent the airbag accidentally going off, or the seatbelt pre-tensioners firing.
How to Remove and Refit a Rover 25 and MG ZR Driver's Airbag
Step 1
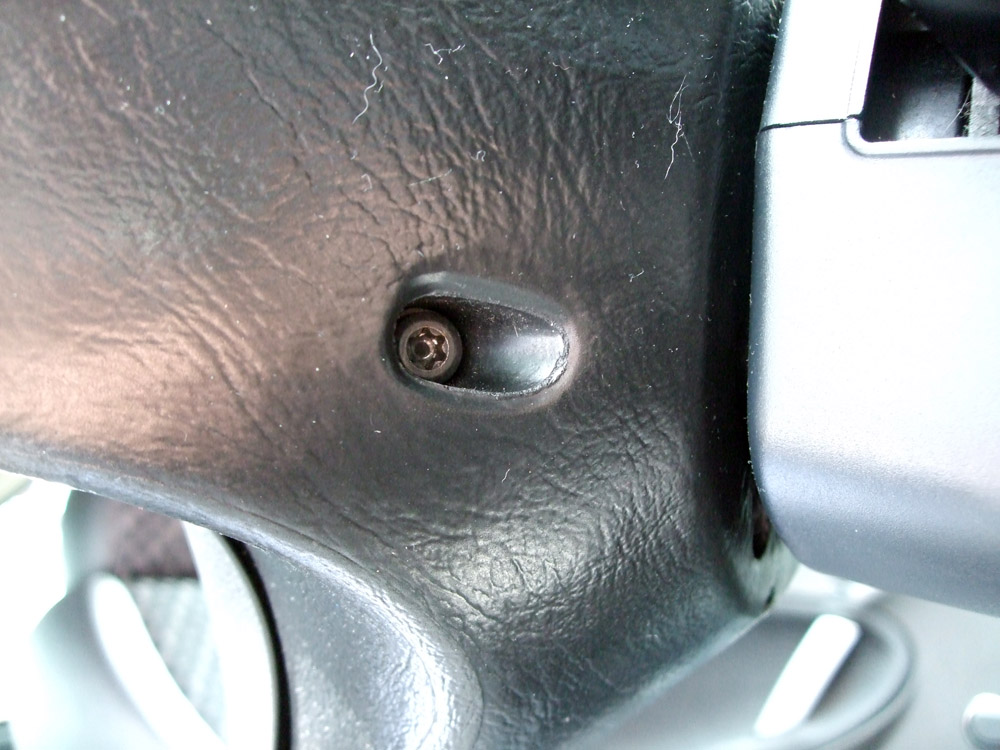
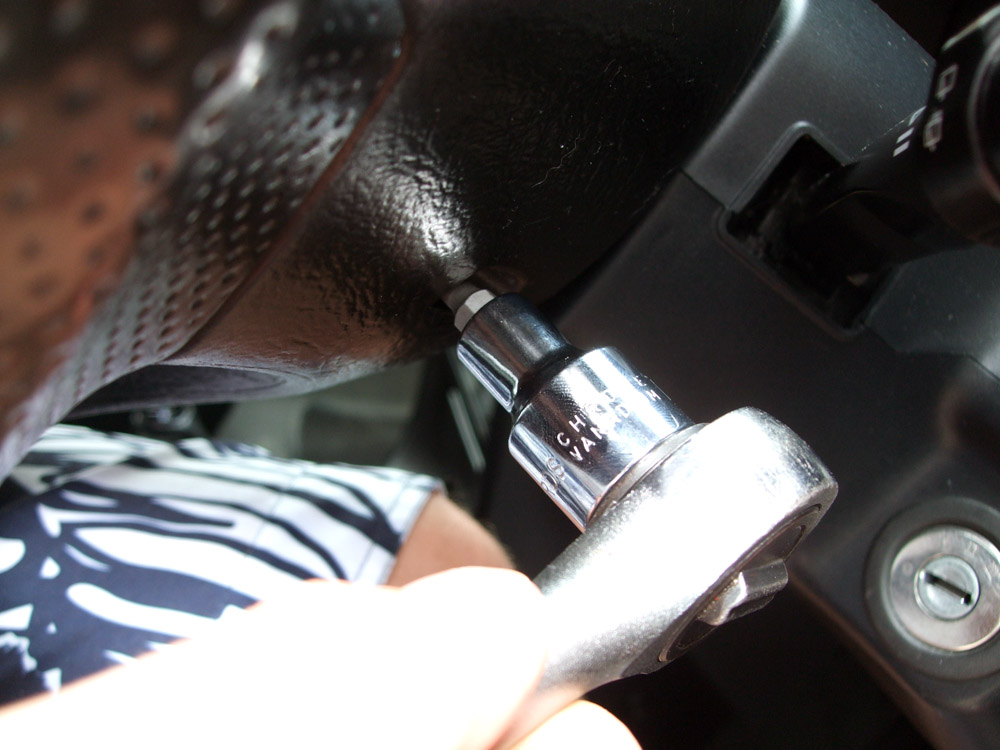
Only after carrying out the above procedures should you begin step 1.At the back of the steering wheel are two bolts with a Torx head. Using the T30 Torx bit and ratchet, undo and remove both bolts. Keep these bolts safe, and do not use any other type of bolts instead of these, as they are specially designed for this role.


Step 2
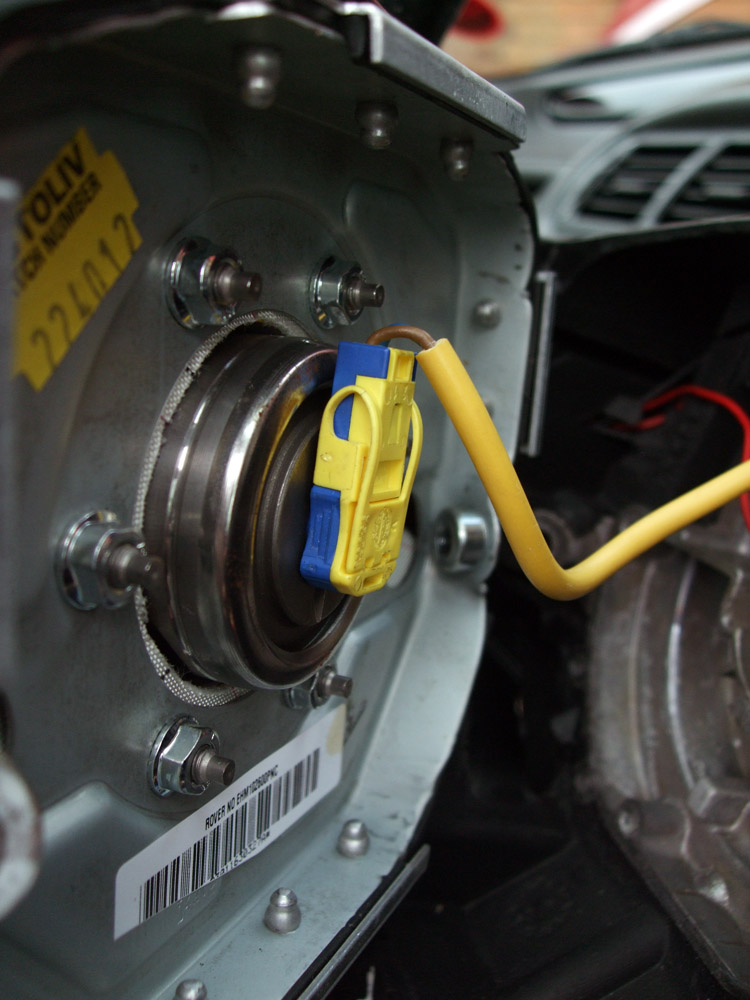
Once the two Torx bolts have been removed, the airbag with lift away from the steering wheel. Use caution when pulling it away though, as it is still attached via a cable to the steering wheel.Support the airbag, do not let it hang from the cable. Remove the cable from the airbag by lifting the yellow half of the connector, then pull the whole thing out of the airbag.


Step 3
The airbag should now be completely detached from the steering wheel. Handle the airbag with care, storing in a safe place whilst carrying out any other work.Step 4
Refitting the airbag is a case of following step 1 - 3 in reverse order.However, there are some things to take note of. When replacing the cable for the airbag note the position should be as shown in the images above, the end of the connector the wire comes out of should be at the top.
When replacing the Torx bolts be sure not to cross thread them. They must also be tightened to a specific torque. Using the torque wrench tighten them to 9Nm / 7lbf ft.
When reconnecting the battery, reconnect the negative terminal last.

0 Comments
Post a Comment
Let me know what you think by leaving a comment below.