You'll need to remove it prior to removing the front console should you need to, and when fitting a new handbrake gaiter.

This post may contain affiliate links. Please read my disclosure for more info.
How to Remove and Refit a Rover 25 / MG ZR Rear Console
Time to Complete - 10 minutes
Difficulty - 1/5
Tools and Parts Required
- Trim removal kit or small flat head screw driver
- 7mm Socket
- Ratchet
Disclaimer: Any information given in this guide is to be used at the readers own risk. I take no responsibility for injuries to the reader or damage to their vehicles. If this guide is followed correctly, no harm should occur to either the reader or the car.
Please read through the entirety of this guide prior to undertaking any work, and take due care.
Step 1
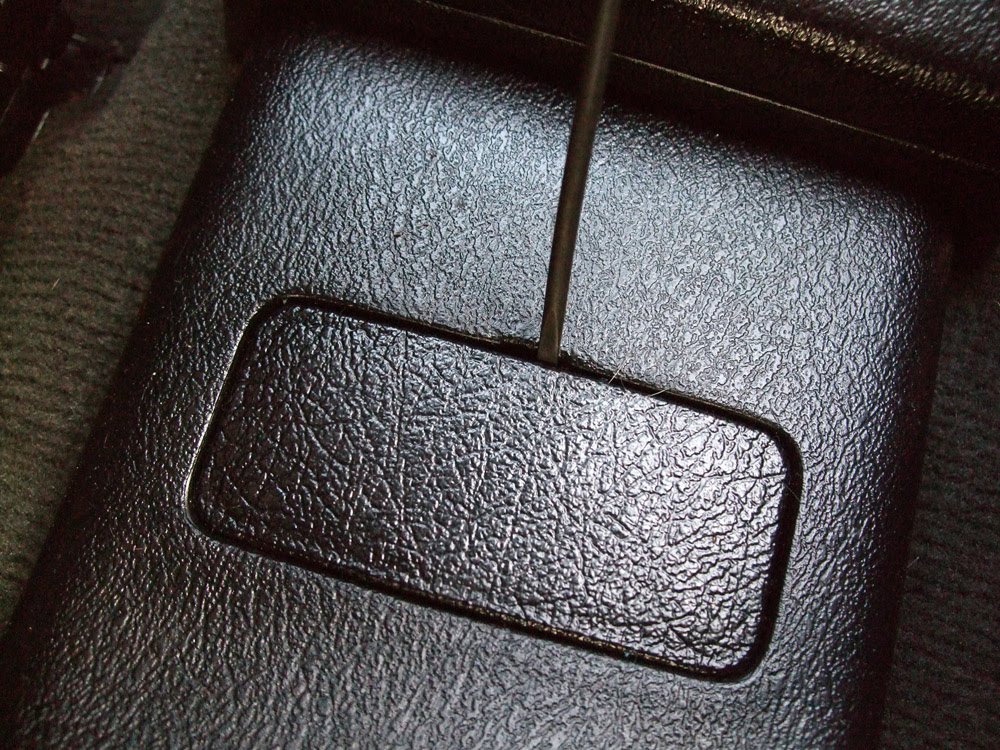
Take the small flat head screw driver and poke it into the slight recess at the top of the cap located underneath the handbrake handle. Lever the screw driver to pop the cap off.Hold up there younger me, now I'm 10 years older and a wee bit wiser, you really should be using a plastic trim removal tool, rather than the screw driver, as you risk scratching the trim.
Remove the cap to reveal two bolts.

Step 2
Remove the two bolts using the ratchet and 7mm socket.

Step 3
Once these two bolts are removed, slide the whole rear console backwards, towards the boot. It should now be free of the car and to get it out is just a case of lifting it over the handbrake.
Step 4
Refitting the rear console is just a case of repeating step 1 - 3 in reverse. Take note, however, to make sure the black clips, underneath the rear ash tray, go under the metal bracket.

0 Comments
Post a Comment
Let me know what you think by leaving a comment below.